How to make 5ghz cantenna - feeder for sat-dish
The Goal[επεξεργασία]
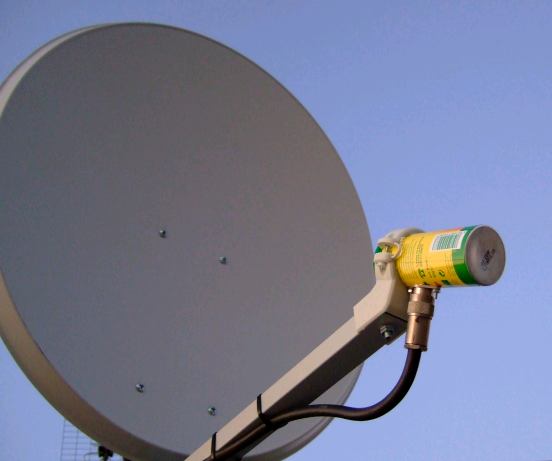
The goal is to make a 5ghz cantenna which will work as a sat-dish feeder for one of the cheapest but also highest gain 802.11a wireless antennas. The construction of this 5.5Ghz wifi cantenna can be done with regular tools that anyone could have in his garage and costs about 2-3 euros. The following article is a complete step-by-step guide - HOWTO for making such a wi-fi antenna.
Here is a video showing the construction of this home made 5ghz 802.11a cantenna: WiMAN 5Ghz Feeder Video
This cantenna can be also used on its own for 5ghz links of up to a few hundred meters.
Diamensions of 5Ghz Cantenna[επεξεργασία]
Cantennas are (as their name suggests) antennas made with a can of certain dimensions, a N female connector and a piece of copper wire soldered on the N connector's core.
The following figure shows the dimensions of a typical cantenna. The one we will make is the 5Ghz one (the one in the red square).
Implementation[επεξεργασία]
The implementation is quite simple, needs some very basic tools and can be done in less than 30min.
Required materials-tools[επεξεργασία]
Materials:
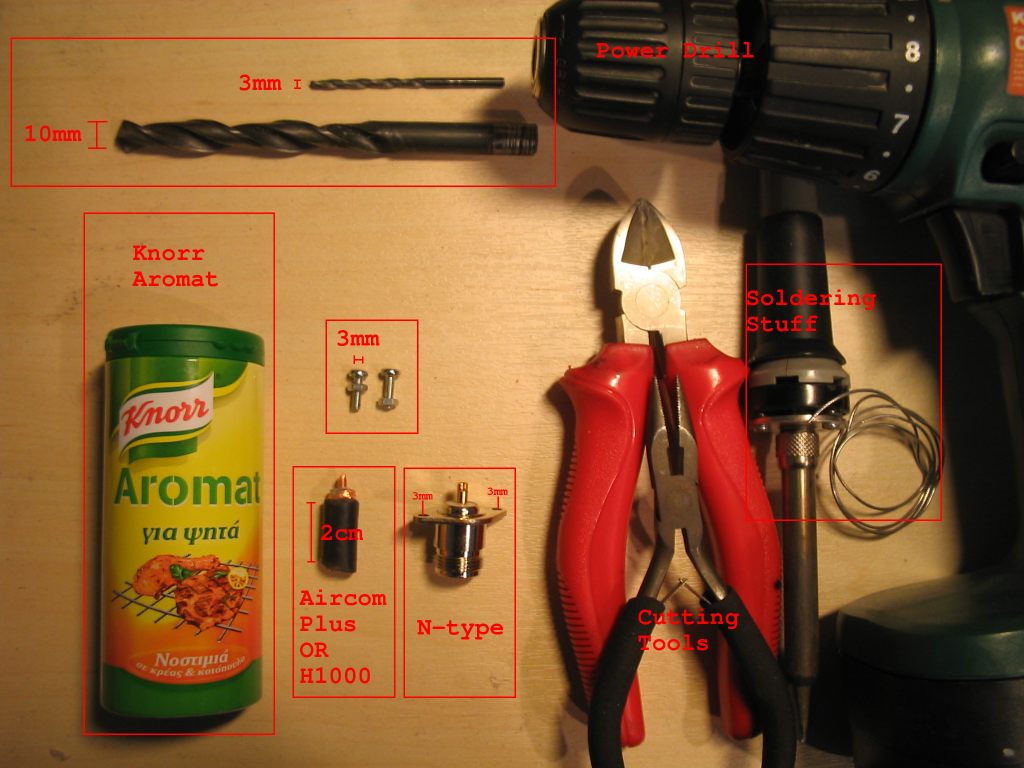
- Can with diameter of 3.75cm approximately (e.g. Knorr Aromat )
- Ν connector for chassis with 2 mounting holes
- Small piece of thick copper wire 2cm (e.g. the core of coaxial cable H1000 or AIRCOM PLUS)
- Nutts and Bolts Φ3mm for mounting the Connector to the can.
Tools:
- Soldering Station
- Drill parts for metal Φ10mm and Φ3mm
- Screwdriver - Cutter - etc.
Extract the copper core from the coaxial cable[επεξεργασία]
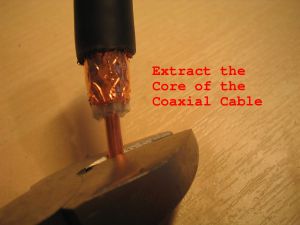
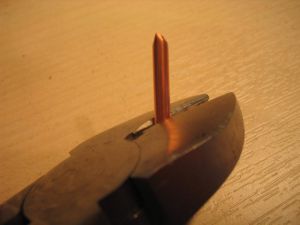
A small piece of coaxial cable (2cm) with a copper core (H1000,AircomPlus) is extracted so it can later be soldered on the N connector.
The core of the coaxial cable is the only part of the coaxial cable we need.
The thicker the copper wire - the best.
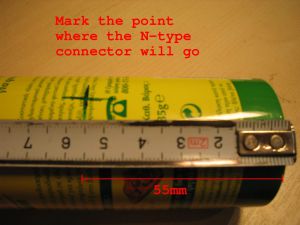
Mark the 10mm hole for the Ν connector[επεξεργασία]
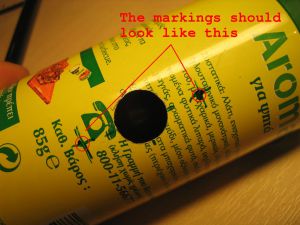
The N connector is 55mm from the base of the can.
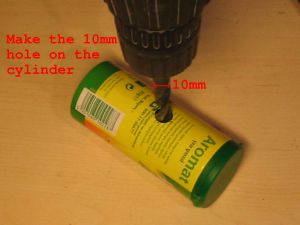
We drill a 10mm hole.
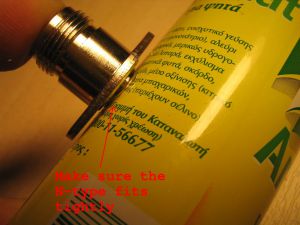
It is common for the N-Type connector to be a little bigger in diameter than the 10mm hole we drilled. In that case we widen the hole just enough for the connector to fit tightly.
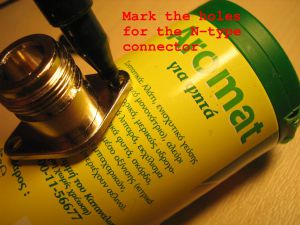
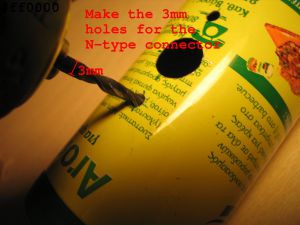
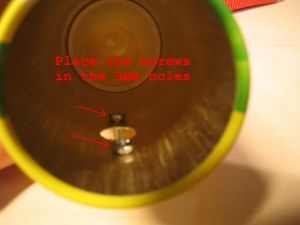
Mark the 3mm holes for securing the N connector on the can[επεξεργασία]
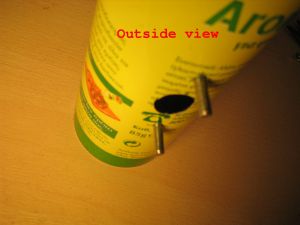
A good way of making sure the mounting holes are right on the spot is to fit the N connector in the 10mm hole we have already drilled and then mark the connector's mounting holes on the can. mounting holes so that both the connector and the screws fit in their place.}}
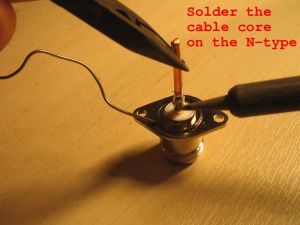
Soldering the copper wire on the connector[επεξεργασία]
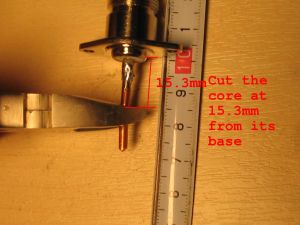
Cut the copper wire[επεξεργασία]
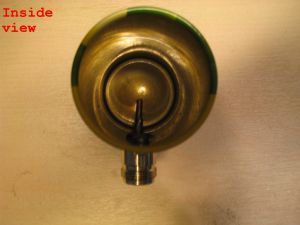
Carefully cut the copper wire so that it measures 15mm from the connector's base.
Suggestion:For higher frequencies the length should be 12-13mm.
Put the nutts and bolts Φ3mm[επεξεργασία]
Put the mounting nutts and bolts (3mm diameter) with the bolts head inside the can.
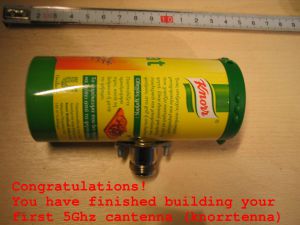
Result[επεξεργασία]
The construction of your 5ghz cantenna - 5ghz sat-dish feeder is now complete.
